I recently purchased a Cuisinart® BBQ Beercan Chicken Tool at Canadian Tire for $15, and decided to try an idea given to me some years ago.
The idea was to mimic Swiss Chalet’s barbeque chicken using a regular barbeque, so this was going to be experimental.

First, I purchased a whole chicken that was raised without injections and/or chemicals of any sort; from a well-known, local farmer (the Snowdens) then… because this new tool has holes in the bottom of it so that the fat can be allowed to run free, I placed it over a pot that sits low… the domed lid for my stainless steel, 6qt. Dutch Oven pot (pictured below).
I set them into my empty oven, after placing one rack at the very bottom and removing the other… to make sure there would be lots of room to stand the chicken while cooking.
The raw chicken, I then proceeded to remove all excess fat from the cavity …top and bottom… making sure to place the wing tips back behind the chicken so that the wings wouldn’t burn during cooking.
And I used cord to tie the chicken so it be held tight, ready for its balancing act.
I recommend you rub the chicken skin with salty spices and paprika.
In approximately 2 cups of warm water, I dissolved about ½ cup of table salt, then poured some of the salt water into the can-like portion of the Beercan Chicken Tool.
Then, I carefully balanced the chicken onto the can-like part, so that the can-like part fit into the open cavity of the chicken (making it look though the chicken is sitting on the can), and I made sure to push the can into the cavity of the chicken as far as possible, to hold the chicken in place during cooking.
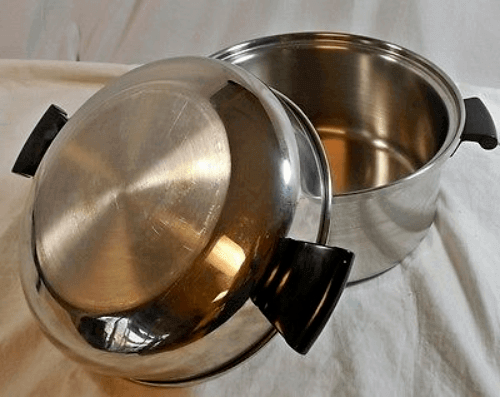
In the domed lid of my Dutch Oven, I poured the remaining salt water in, and then placed the Beercan Chicken Tool with the chicken mounted, on top of that the domed lid so that it would retain the chicken fat during cooking.
Then, I carefully pushed the rack back inside my oven, which had been preheated to 375°F, and then set my timer for 2 hours.
NOTE: My near-5-pound chicken was closer to 4 pounds once all of the fat inside the cavity (top and bottom) was removed, thus the 2 hours for cooking time, so you’ll need to decrease or increase you timing, depending on your chicken’s size.
When testing for poultry being thoroughly cooked, I simply test to see if the chicken’s leg joints break easily.
If they don’t break at all, then I cook the chicken a little longer… and, if they break easily, then the chicken is COOKED to perfection!
However, should you prefer to use a thermometer then of course, I recommend you use one.
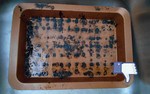
NOTE: I did NOT place vegetables around my chicken as shown in the photo above; though my finished chicken’s skin looked the very same colour as the one in the photo.
TIP: Carefully remove the Beercan Chicken Tool WITH the chicken still in place.
REMEMBER the salt water that was placed in the can-like part… so… be sure NOT to spill this VERY HOT liquid as you remove the cooked chicken!
Carefully remove the chicken onto a serving plate.
REMEMBER TOO: Do NOT dispose of the used salt water down your kitchen sink drain as it now has chicken fat in it.
The salt water makes the chicken taste exactly like barbeque chicken… without the mess …and… without a BBQ!
Should you find this post helpful feel free to “Share” and please, leave a comment.